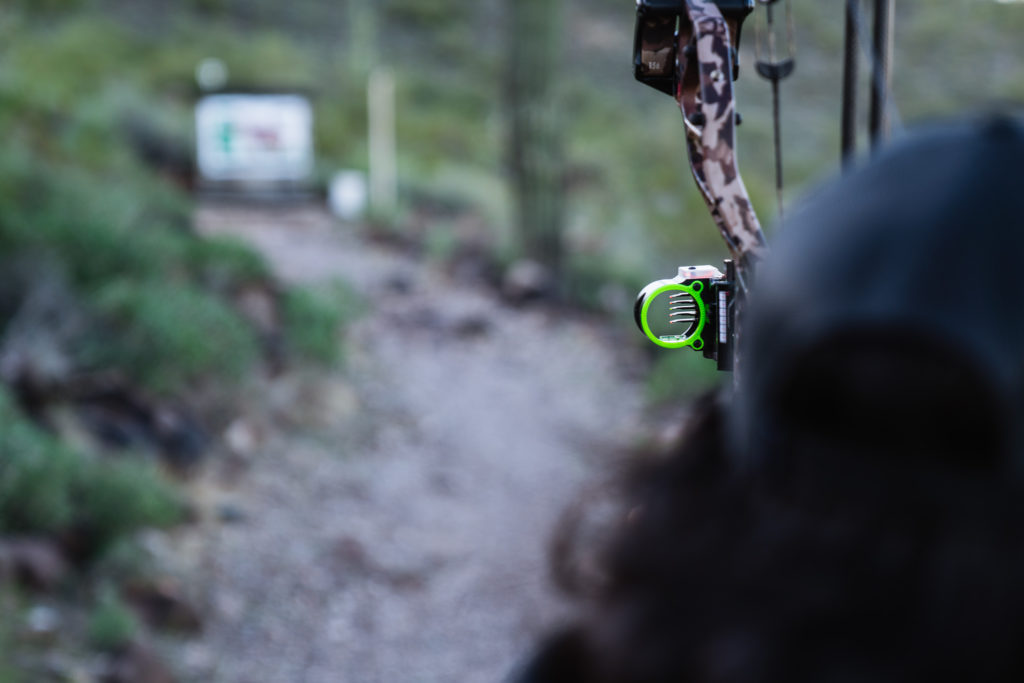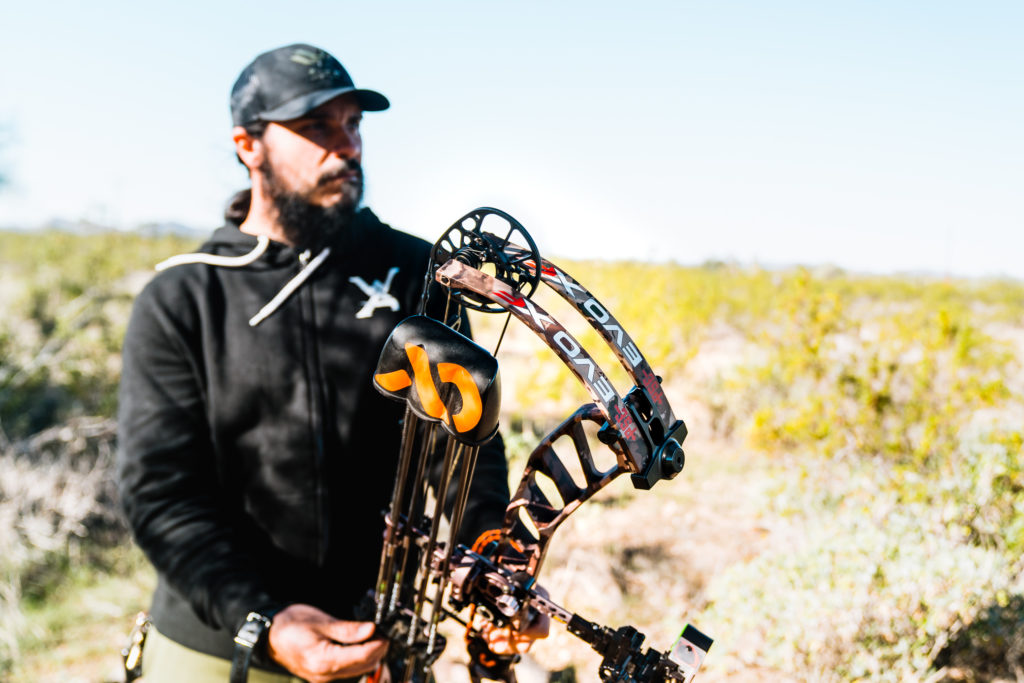
With every new bow setup there is a process. One of the most important parts of that process is getting the new bow sighted in. I recently snagged the new EVO XF 33 from PSE and have been going through the motions of getting it all ready for the 2022 hunting season. In light of that, here is yet another step in my personal process. I’m going to walk you through how I sight in a bow. This is going to be applicable to multi-pin sights. There are many ways to skin a cat, this way has always worked for me though.

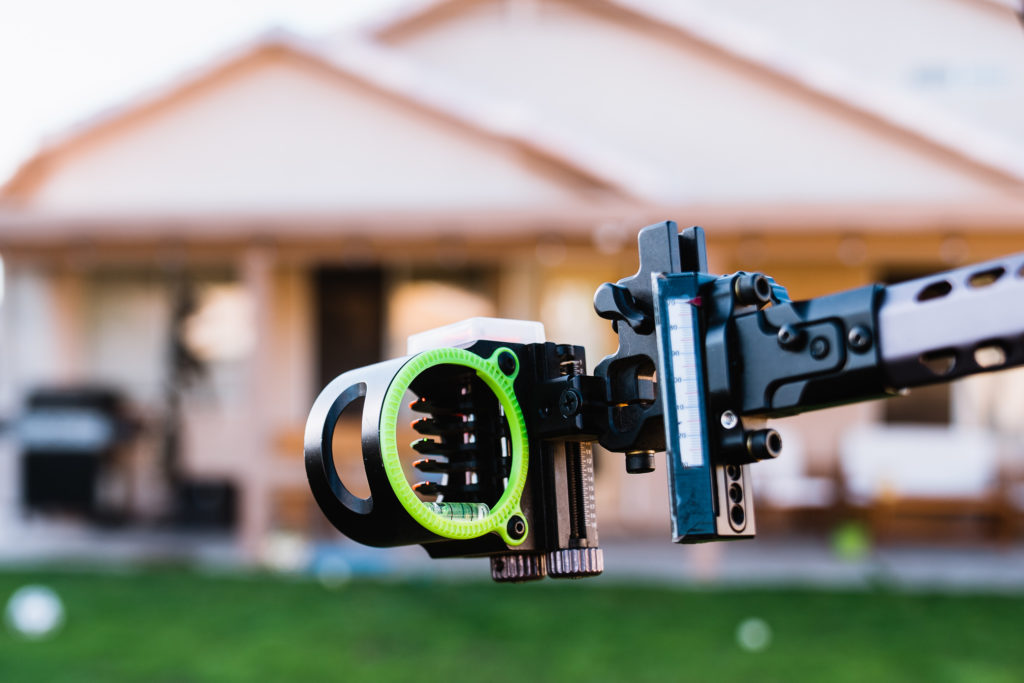
The very first thing I do with a bow sight is move the top pin up to where I want it within the housing. I move it up to make sure I have room beneath it to adjust the rest of the pins down. Too often in the past I ran into actually running out of room to adjust pins. This would cause me to have to completely redo everything.
After I’ve adjusted the top pin to where I want it, I take a shot at 10 yards. Start close here just to make sure you’re on the target. For any adjustments, this is going to call for a full housing adjustment. So, if the arrow is high and right I’m going to move the whole sight up and to the right a bit. A little goes a long way, so start small. Once I’m in the X I’ll move back to 30 yards.
30 yards is my preferred range for my top pin. Lots of folks like 20 and that’s fine. For me though 30 seems to be much more realistic for the open and loud country I often hunt in.
I’ll then take a shot from 30 yards and repeat what I did at 10 yards until the arrow is in the X. Remember, for this top pin you’re making full housing adjustments and not tinkering with individual pins yet. That comes later.

Now comes the part where we adjust individual pins. 40 yards is my second pin, so I’ll step back to that distance for the next shot. You want to chase the arrow here as well. So, if the arrow is high, I’ll move my 40 yard pin up. If it was low, I’d move it down. I’ll do this incrementally until my arrow is in the X. This is where micro adjust sights really stole my heart. It makes it so much easier to do. Repeat this process with the rest of the pins. Mine would be 50, 60, and 70 yards, because I shoot a 5 pin sight.
Bonus Tip: Once you get your second pin figured out, you can eyeball the rest of the pins to get them in the ballpark. Just use the pin gapping between your first and second pin. Mimic that throughout the rest of your pins.
While you’re doing this, you might notice that your arrow drift right or left as you stop farther back. This is completely normal. As you step back in yardage small inconsistencies are magnified at distance. Use a full housing adjustment here to account for the left/right hits. Chase your arrow. Left hits would call for a move to the left and right hits would call for a move to the right. I’ll go back and confirm my top pin afterwards. If the arrows are suddenly off center, this would mean I need to make an adjustment to my rest. I’d likely check my paper tune and reassess after the fact.

Once all of my pins are sighted in, I’ll head into the pro shop for the fellas to work up my sight tape. Before doing this, you need to make sure that your pins are perfect, especially the bottom one. They use a website called Archer’s Advantage to make these sight tapes for me. You enter in all of the info for your setup(arrow weight, arrow speed, etc.) and it’ll configure a sight tape for you. I’ve personally never run into issues with these and they’ve been accurate for me. Of course I always go and confirm them and you should too.
Sighting in a bow is a process. Look at it like a marathon, not necessarily a race. So, take your time with it. It’s really easy to get excited about what you’re doing and rush things. Or literally shoot past the point of being tired, and that never ends well. If you need to come back the next day, then do it. Your sight in will be that much better because of it.
As far as mine goes, I’m really happy! This bow is shooting great and I can’t wait to get it out in the field for spring bear season. But, first I’ll have to get it bareshaft tuned for optimal broadhead flight. You can look forward to that next!
Until then, be sure to subscribe to the blog and Youtube Channel to stay up to date with all future content!


Copyright 2019 Dialed In Hunter
Design by NXNW.