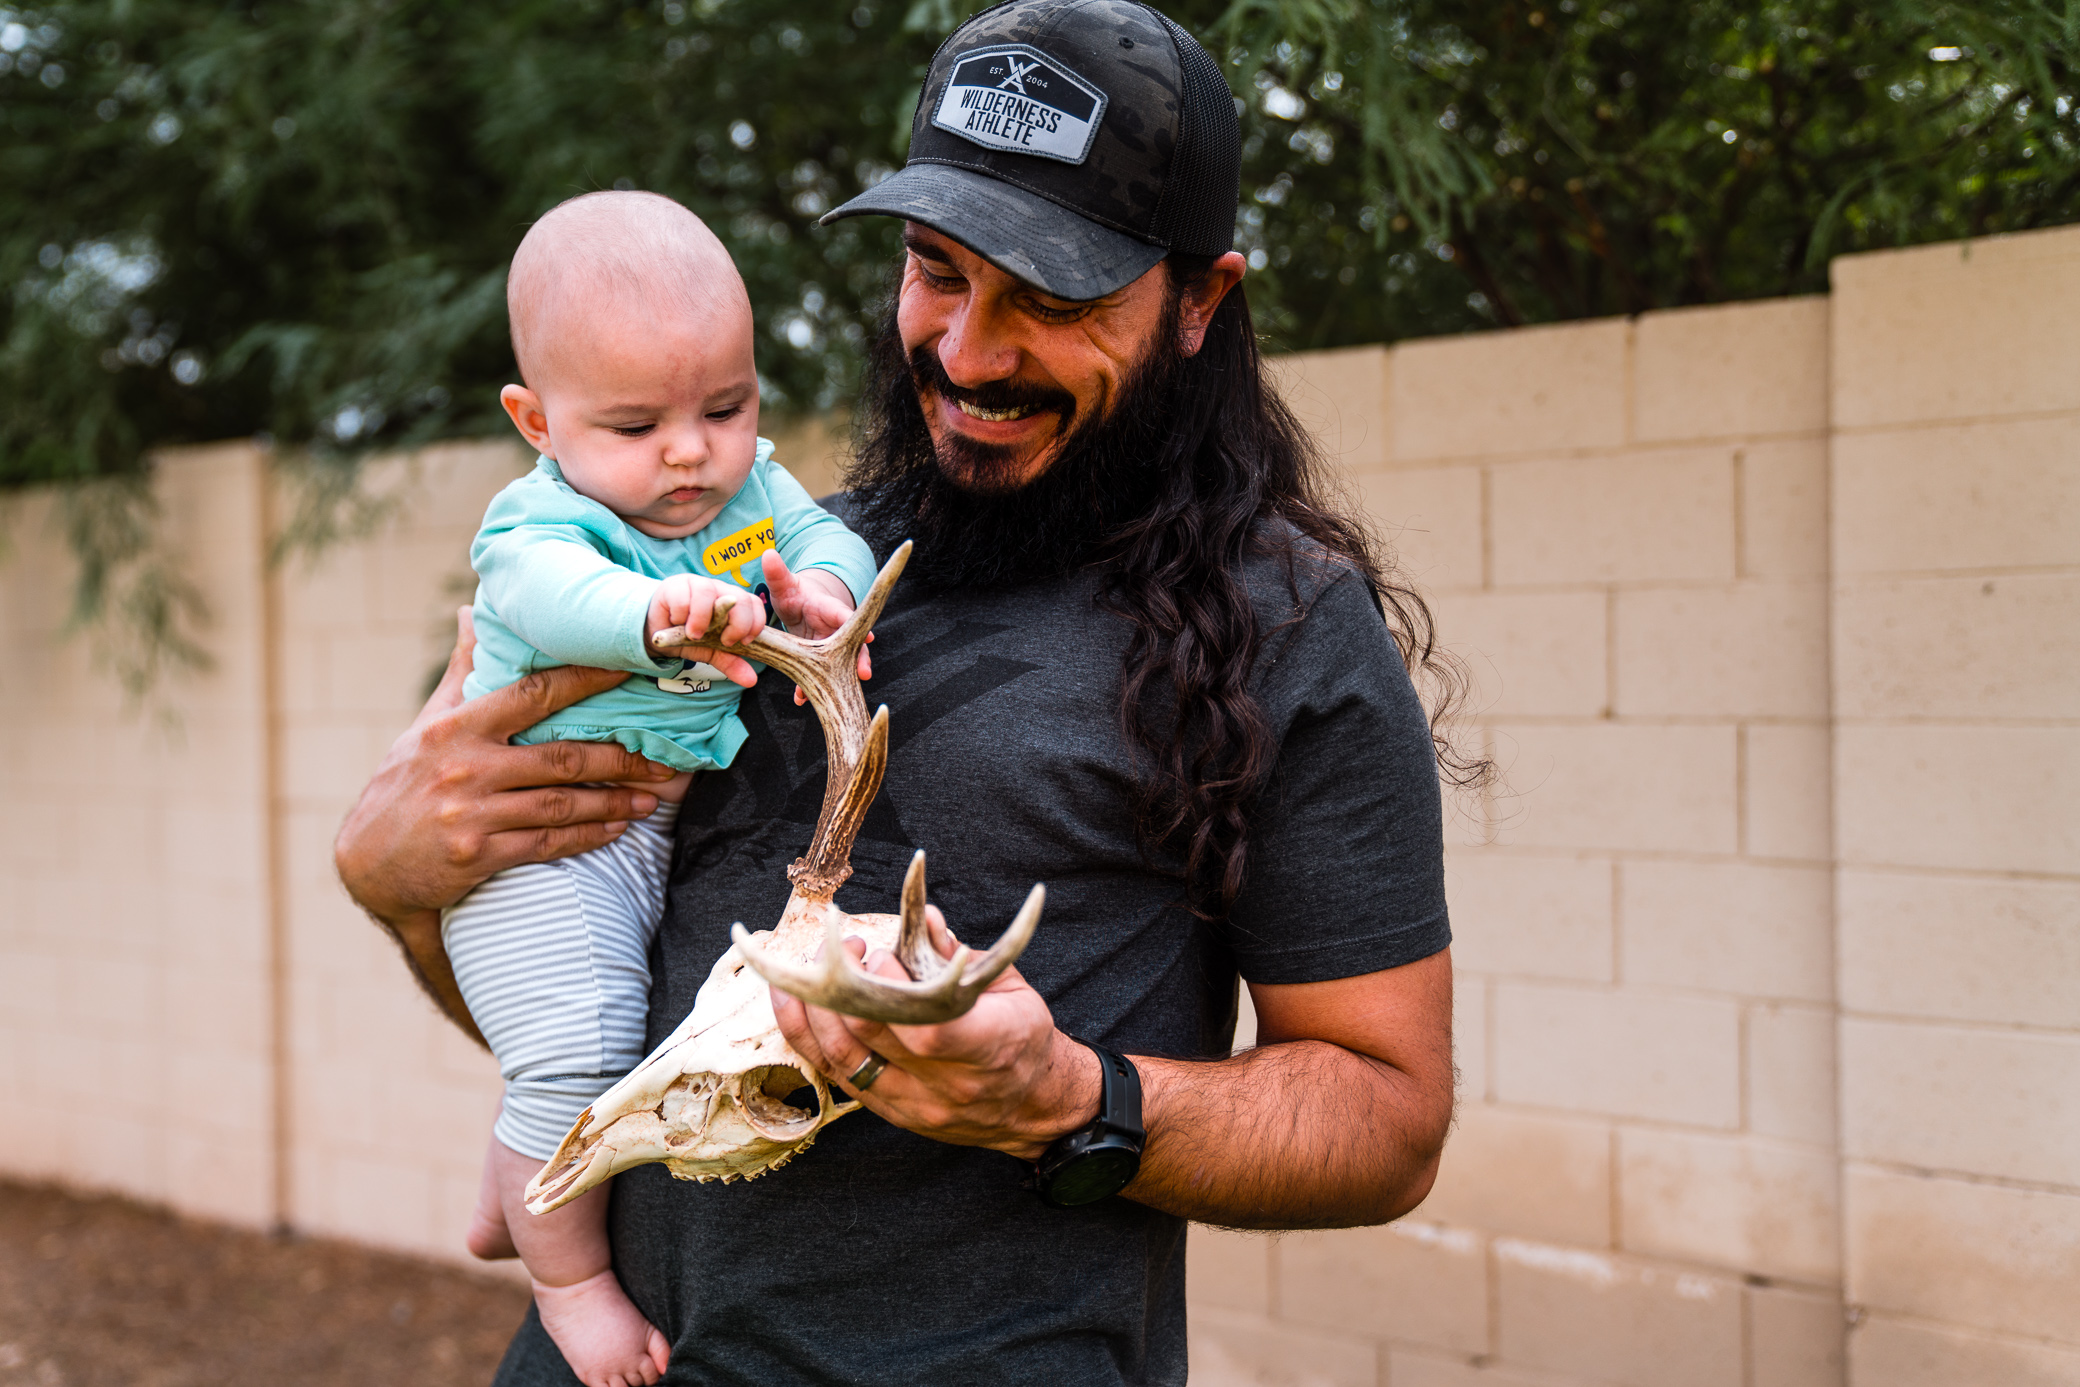
I’m a big fan of the euro mount, especially for deer/elk. They’ve got a rustic look and I just love the color contrast between skull and antler. Early on, I would go through the whole process of creating these on my own. Boil, pressure washer, boil, pressure washer, etc. I enjoyed the process, but man it always took me forever to finish. With the time crunch that is now my reality going through that process is something I haven’t been able to revisit. Well, not entirely at least. After getting a hot tip from a buddy, the lazy man’s euro mount sounded like it was a perfect alternative. Now, a few years later, I’m happy to say it was.
First off, I hope you already gathered this, but I did not invent the lazy man’s euro. I’m merely here to show how easy it is and why it’s the perfect solution for busy folks that want to do their own euro. I also want to say that the traditional methods of boiling and using beetles are great and will always hold up. The lazy euro is simply an alternative. With that, let’s get into it. What is a lazy man’s euro?
In short, the lazy man’s euro mount is accomplished by burying the skull of your harvest into the ground and letting the local bugs and such go to work. That’s it. They do all of the work of cleaning off that skull for you. No boiling needed.
If that sounds appealing to you, keep reading, and I’ll walk you through the steps of how to do this on your own!
Well, the first thing you’re going to need is a skull of a recent animal you’ve harvested. The fresher the better in my opinion. This won’t work as well with a deer skull that’s been laying on the side of the house and totally dried out. The bugs like the fresh stuff.
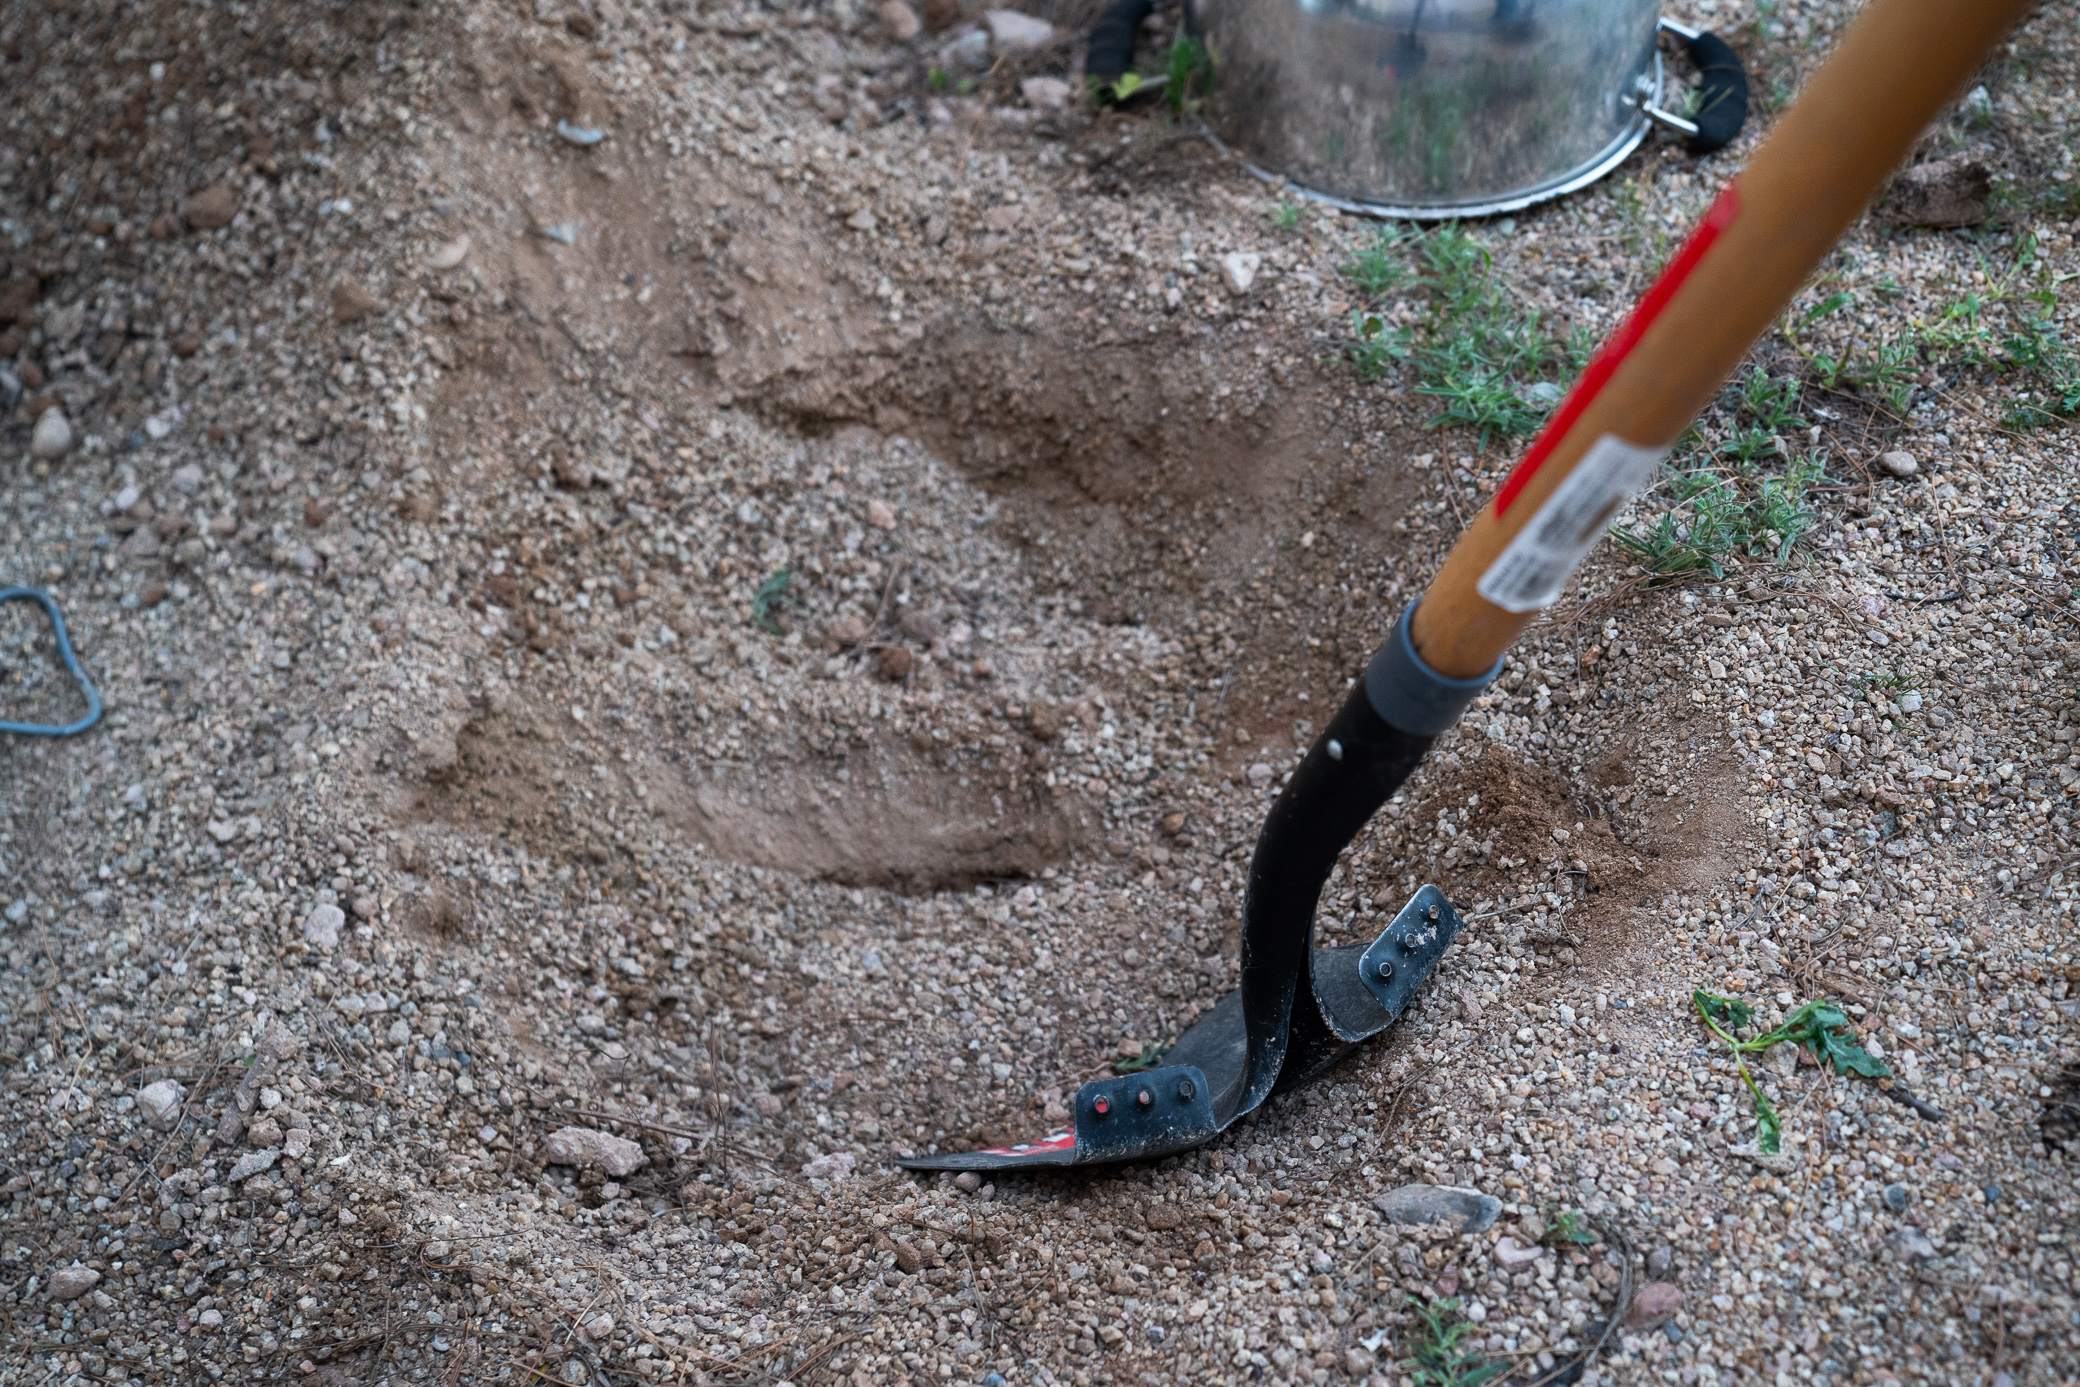
Next, grab a shovel and start digging. You want to dig a hole big enough to fit the entire skull in, while leaving the antlers exposed out of the ground. Leaving the antlers out will let you keep track of where the skull is, instead of incessantly digging up your yard at a later date. If you’re trying this with a bear, or something without antlers, I’d highly suggest putting a flag or something over the hole, so you know where the skull is.
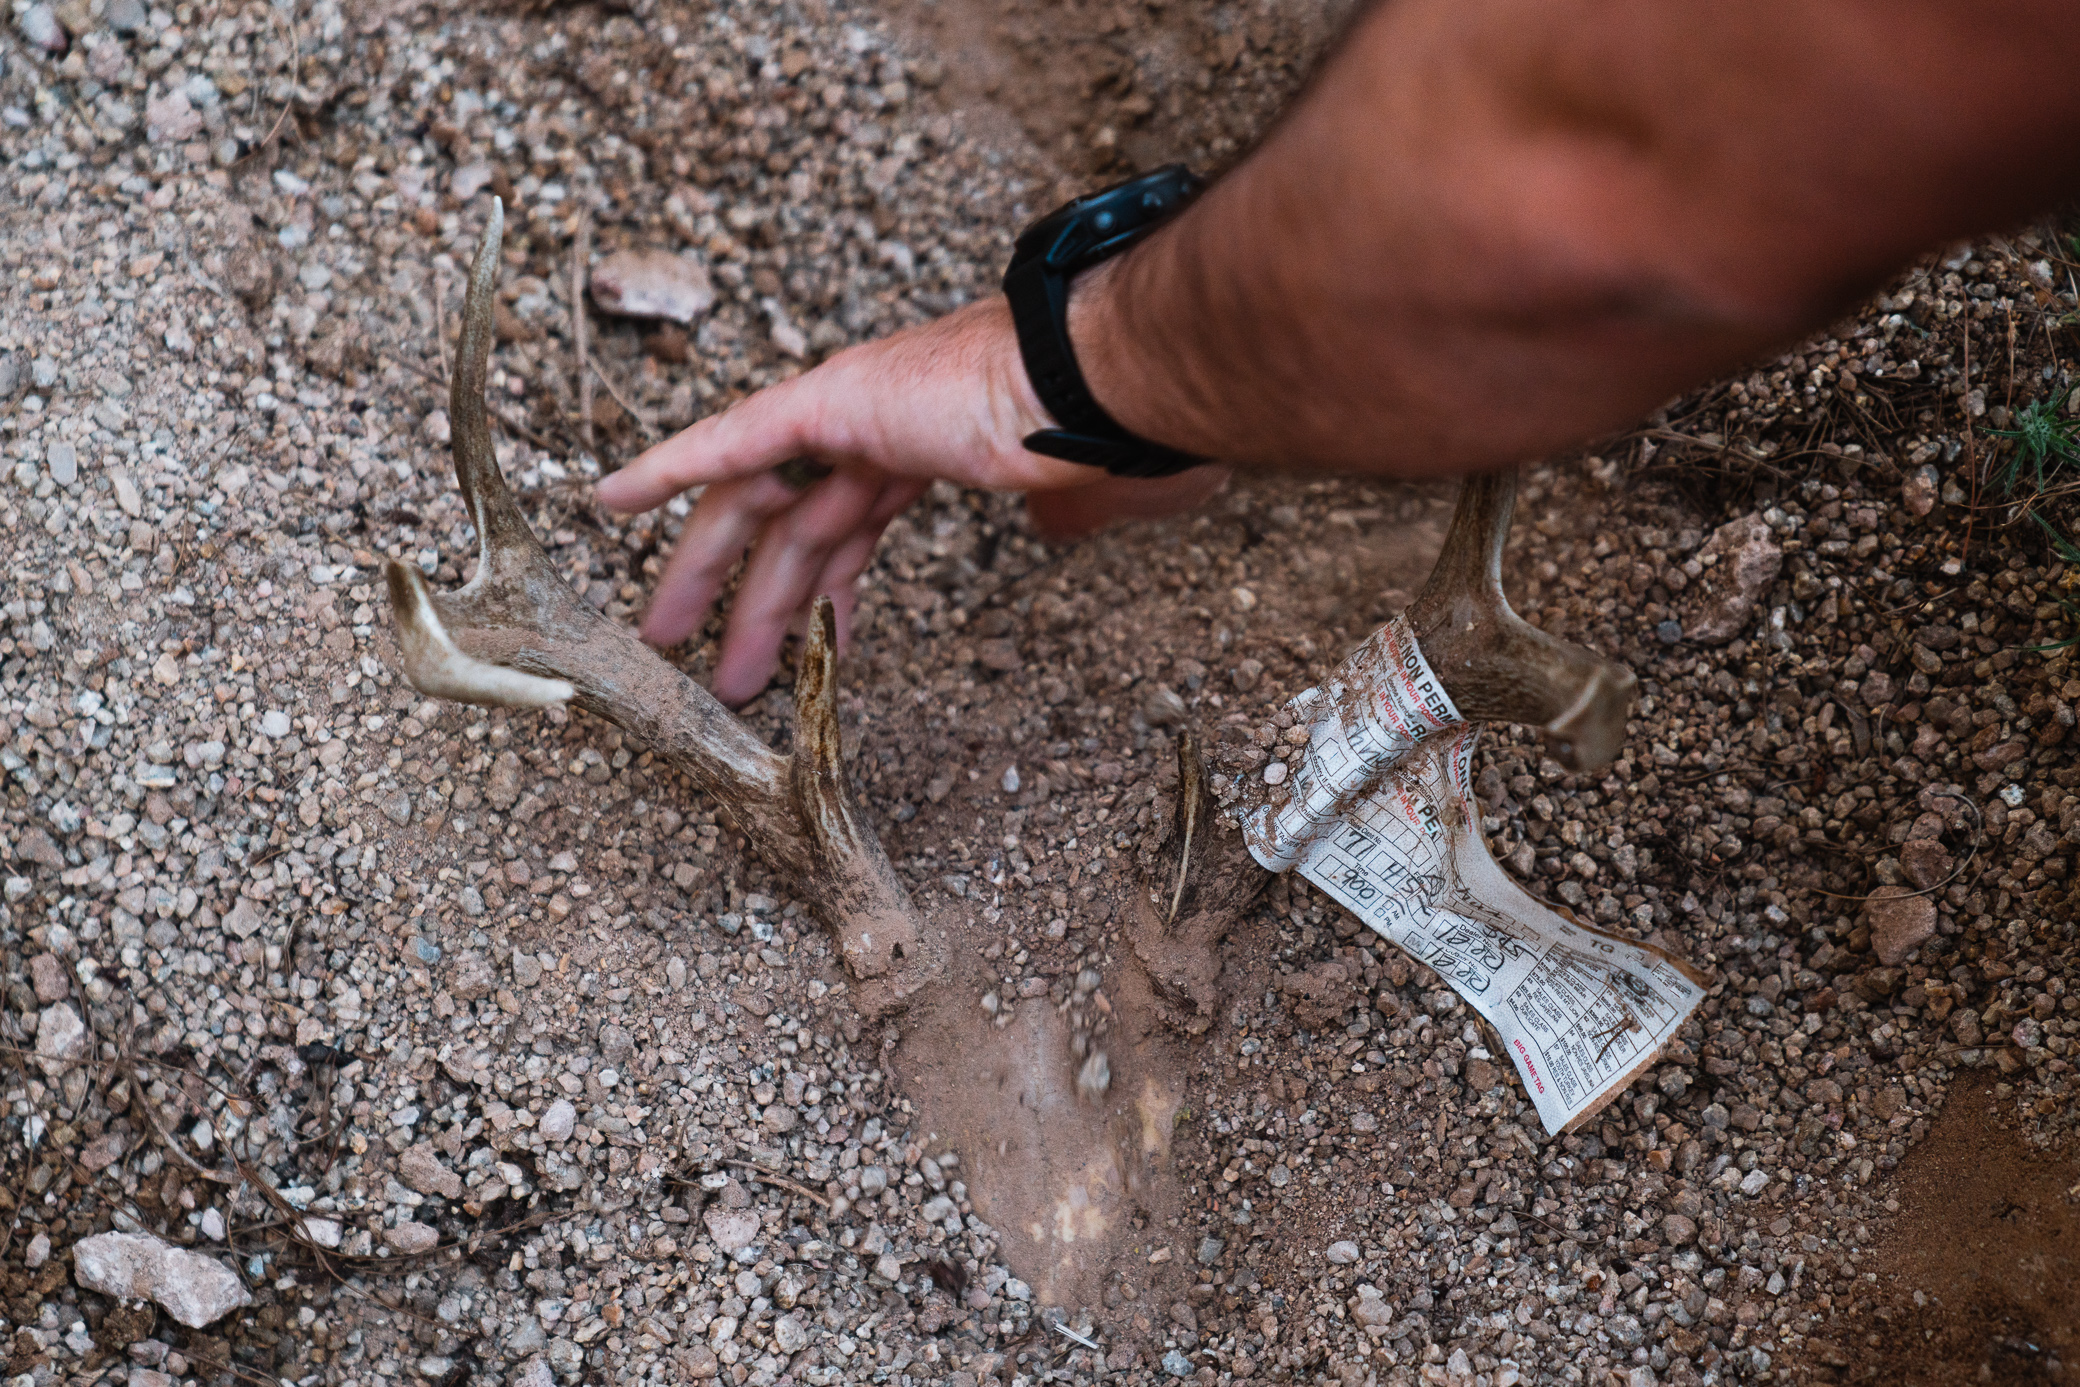
Now, place the skull in the hole and begin to bury it. You’ll want everything below the antlers completely covered. I’d even let the base of the antlers rest beneath the surface and even the brow tines. That will allow the bugs to get to those areas as well.
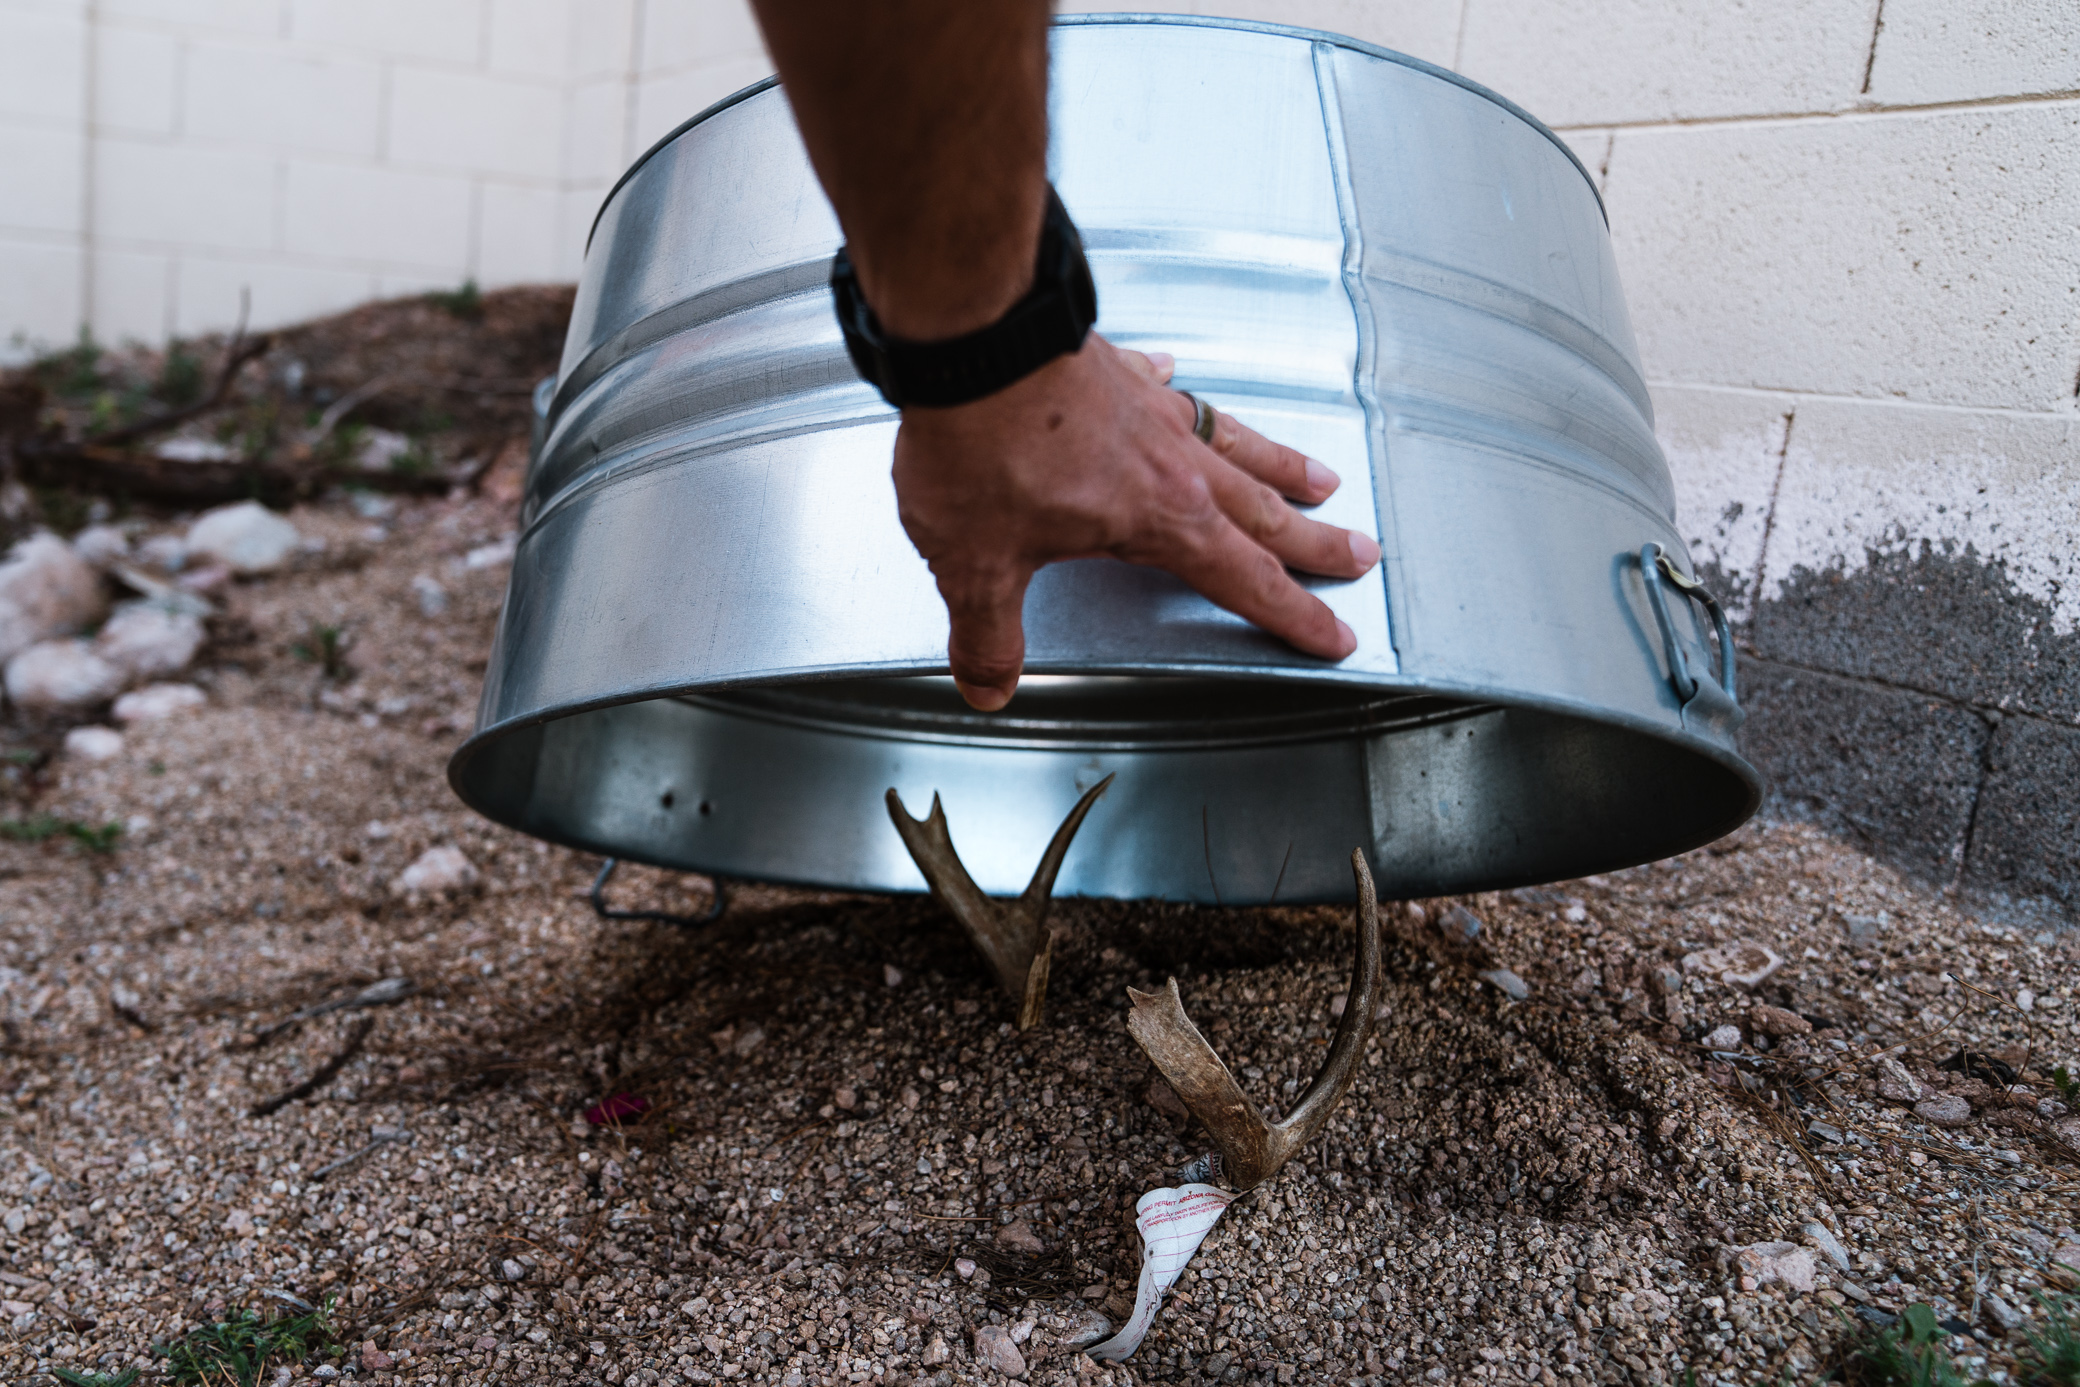
Once everything is all buried, seek out a bucket, barrel, or bin to put over the antlers sticking out of the ground. Doing this will accomplish 2 things. First, it’ll ensure that you or someone else in your family doesn’t accidentally step on the antlers and possibly hurt themselves. Second, it’ll keep the antlers from getting bleached out by the sun.
Now, comes the hard part. Leave it sitting underground for the next year. Set it and forget it. You might be good digging it up before that, but this amount of time seems to have always worked well for me.
After waiting that 365 days, the time has come to dig up your euro mount. When digging this up be careful with the shovel and take your time. The shovel can easily break the skull in the digging process. Also, don’t dig up half of it and then try to muscle it out prematurely. I’ve done that and accidentally broke the snout off of a bull elk before. Dig around the entire skull and then pull it out.
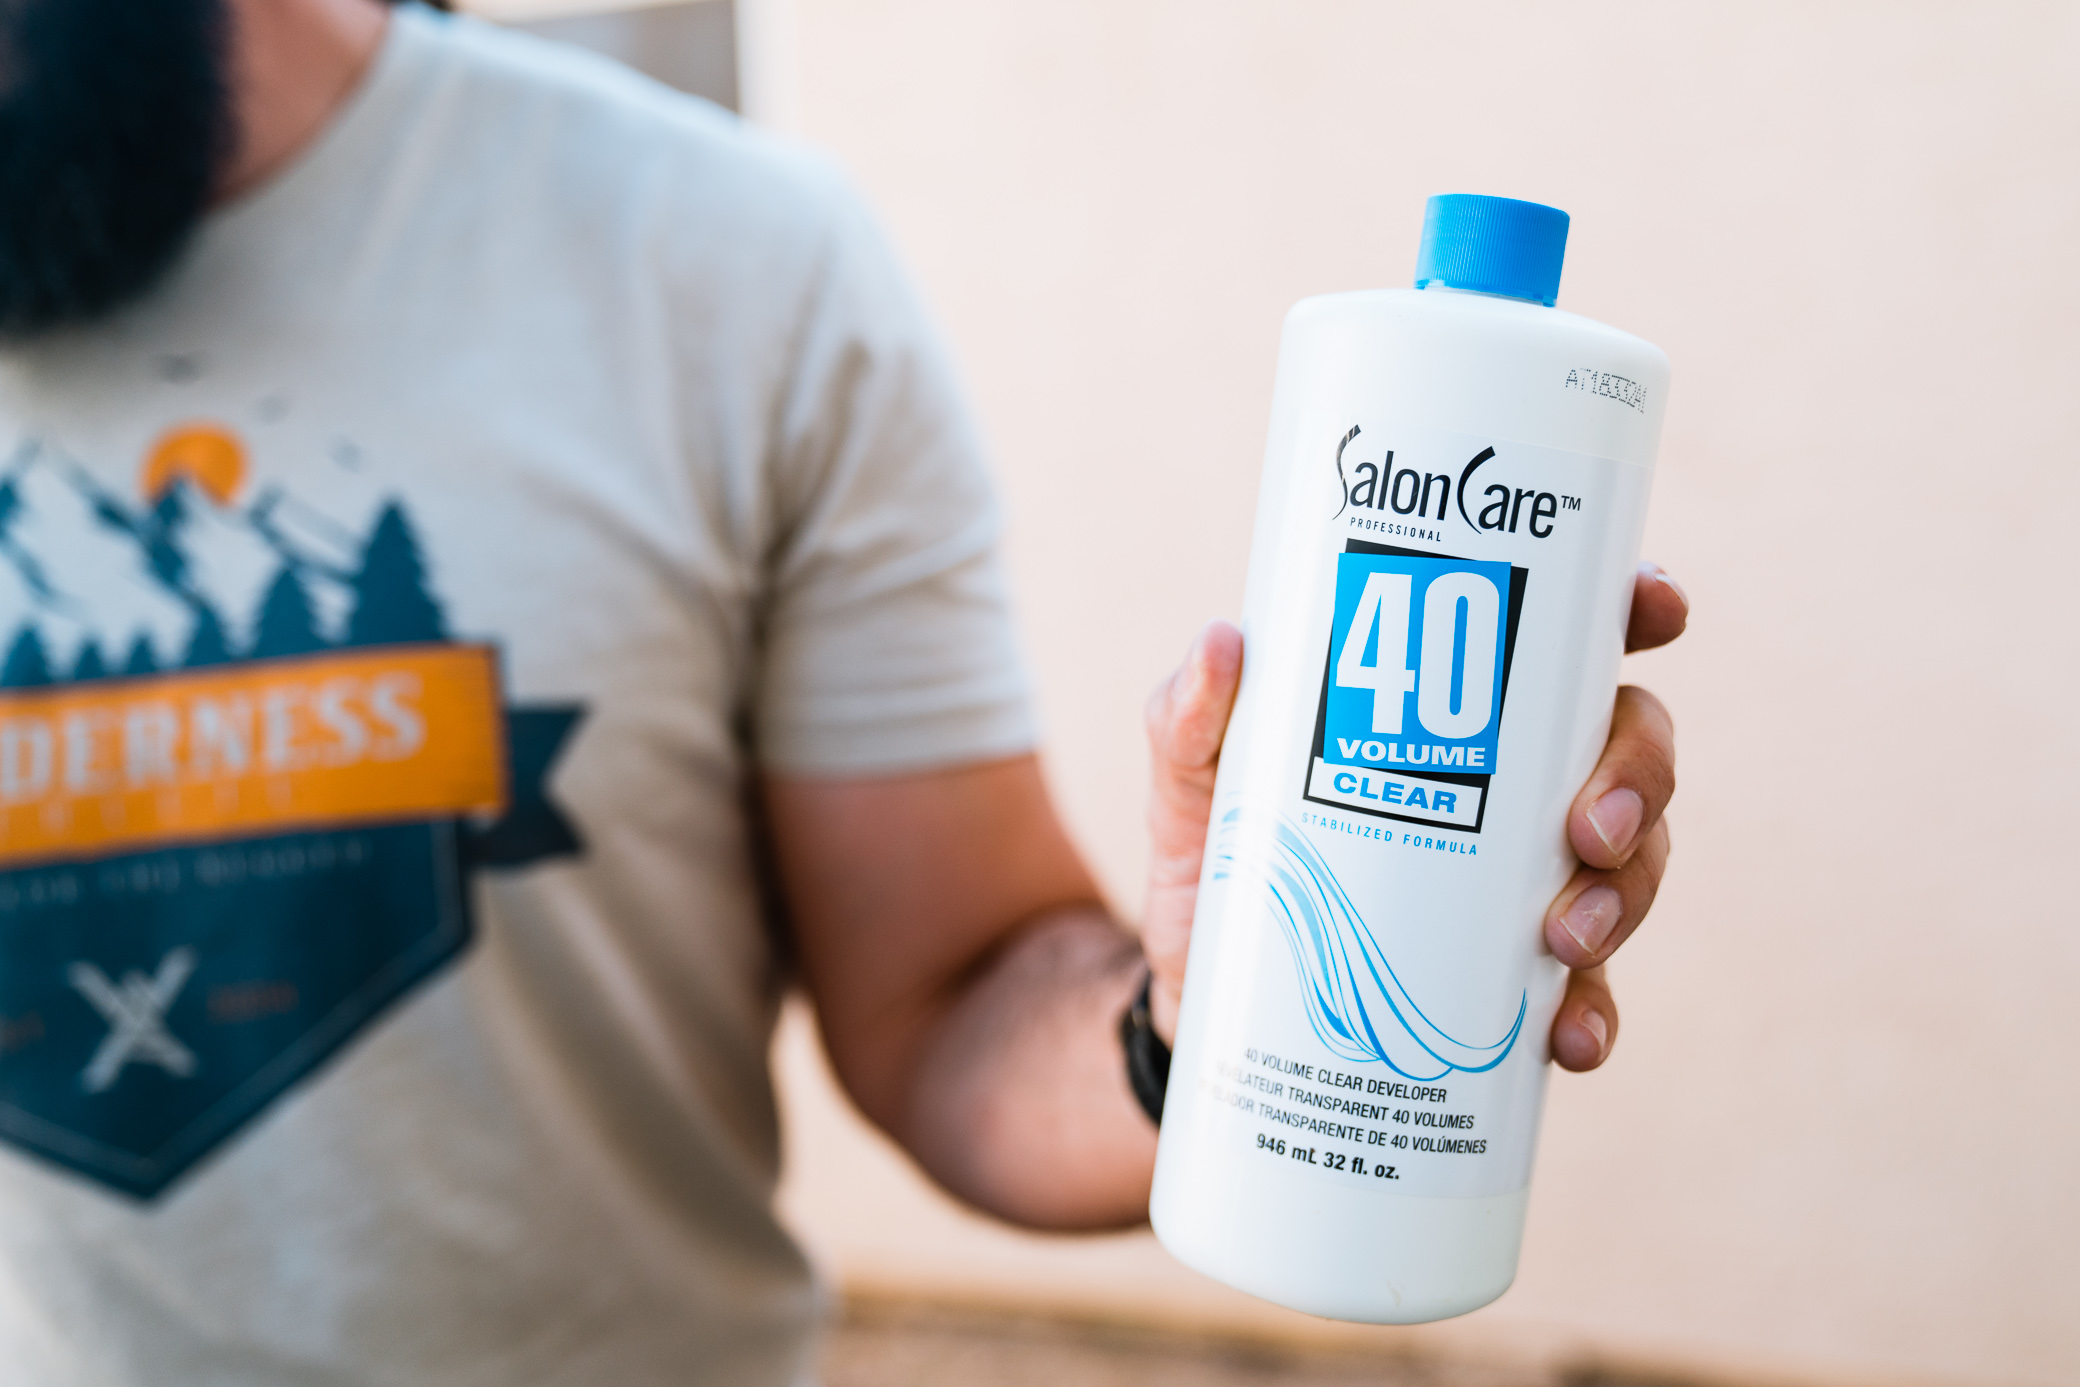
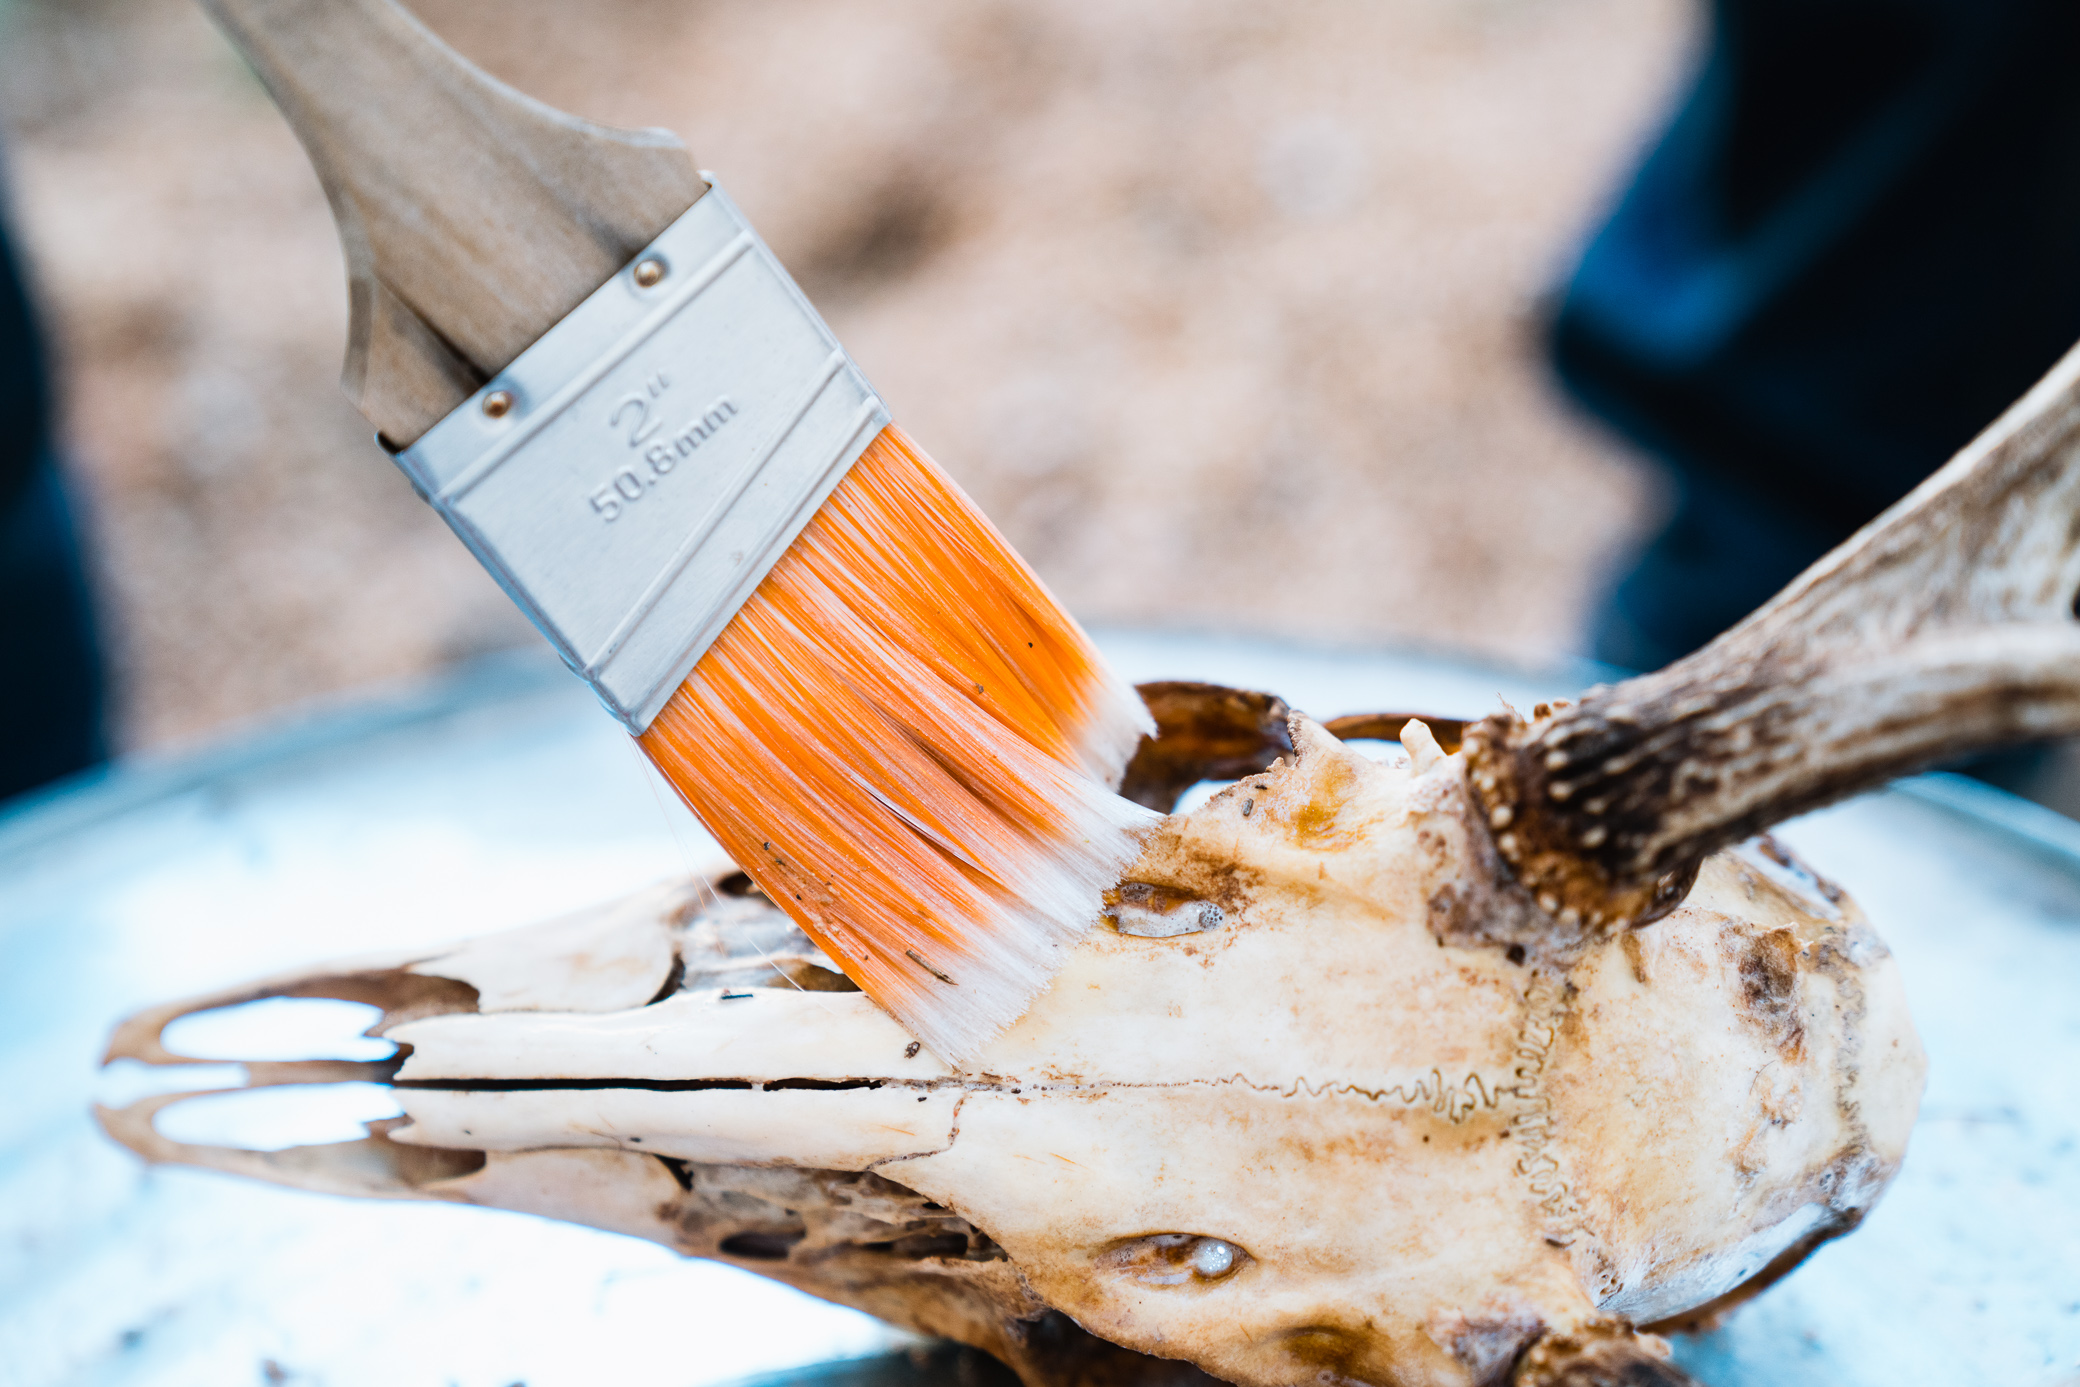
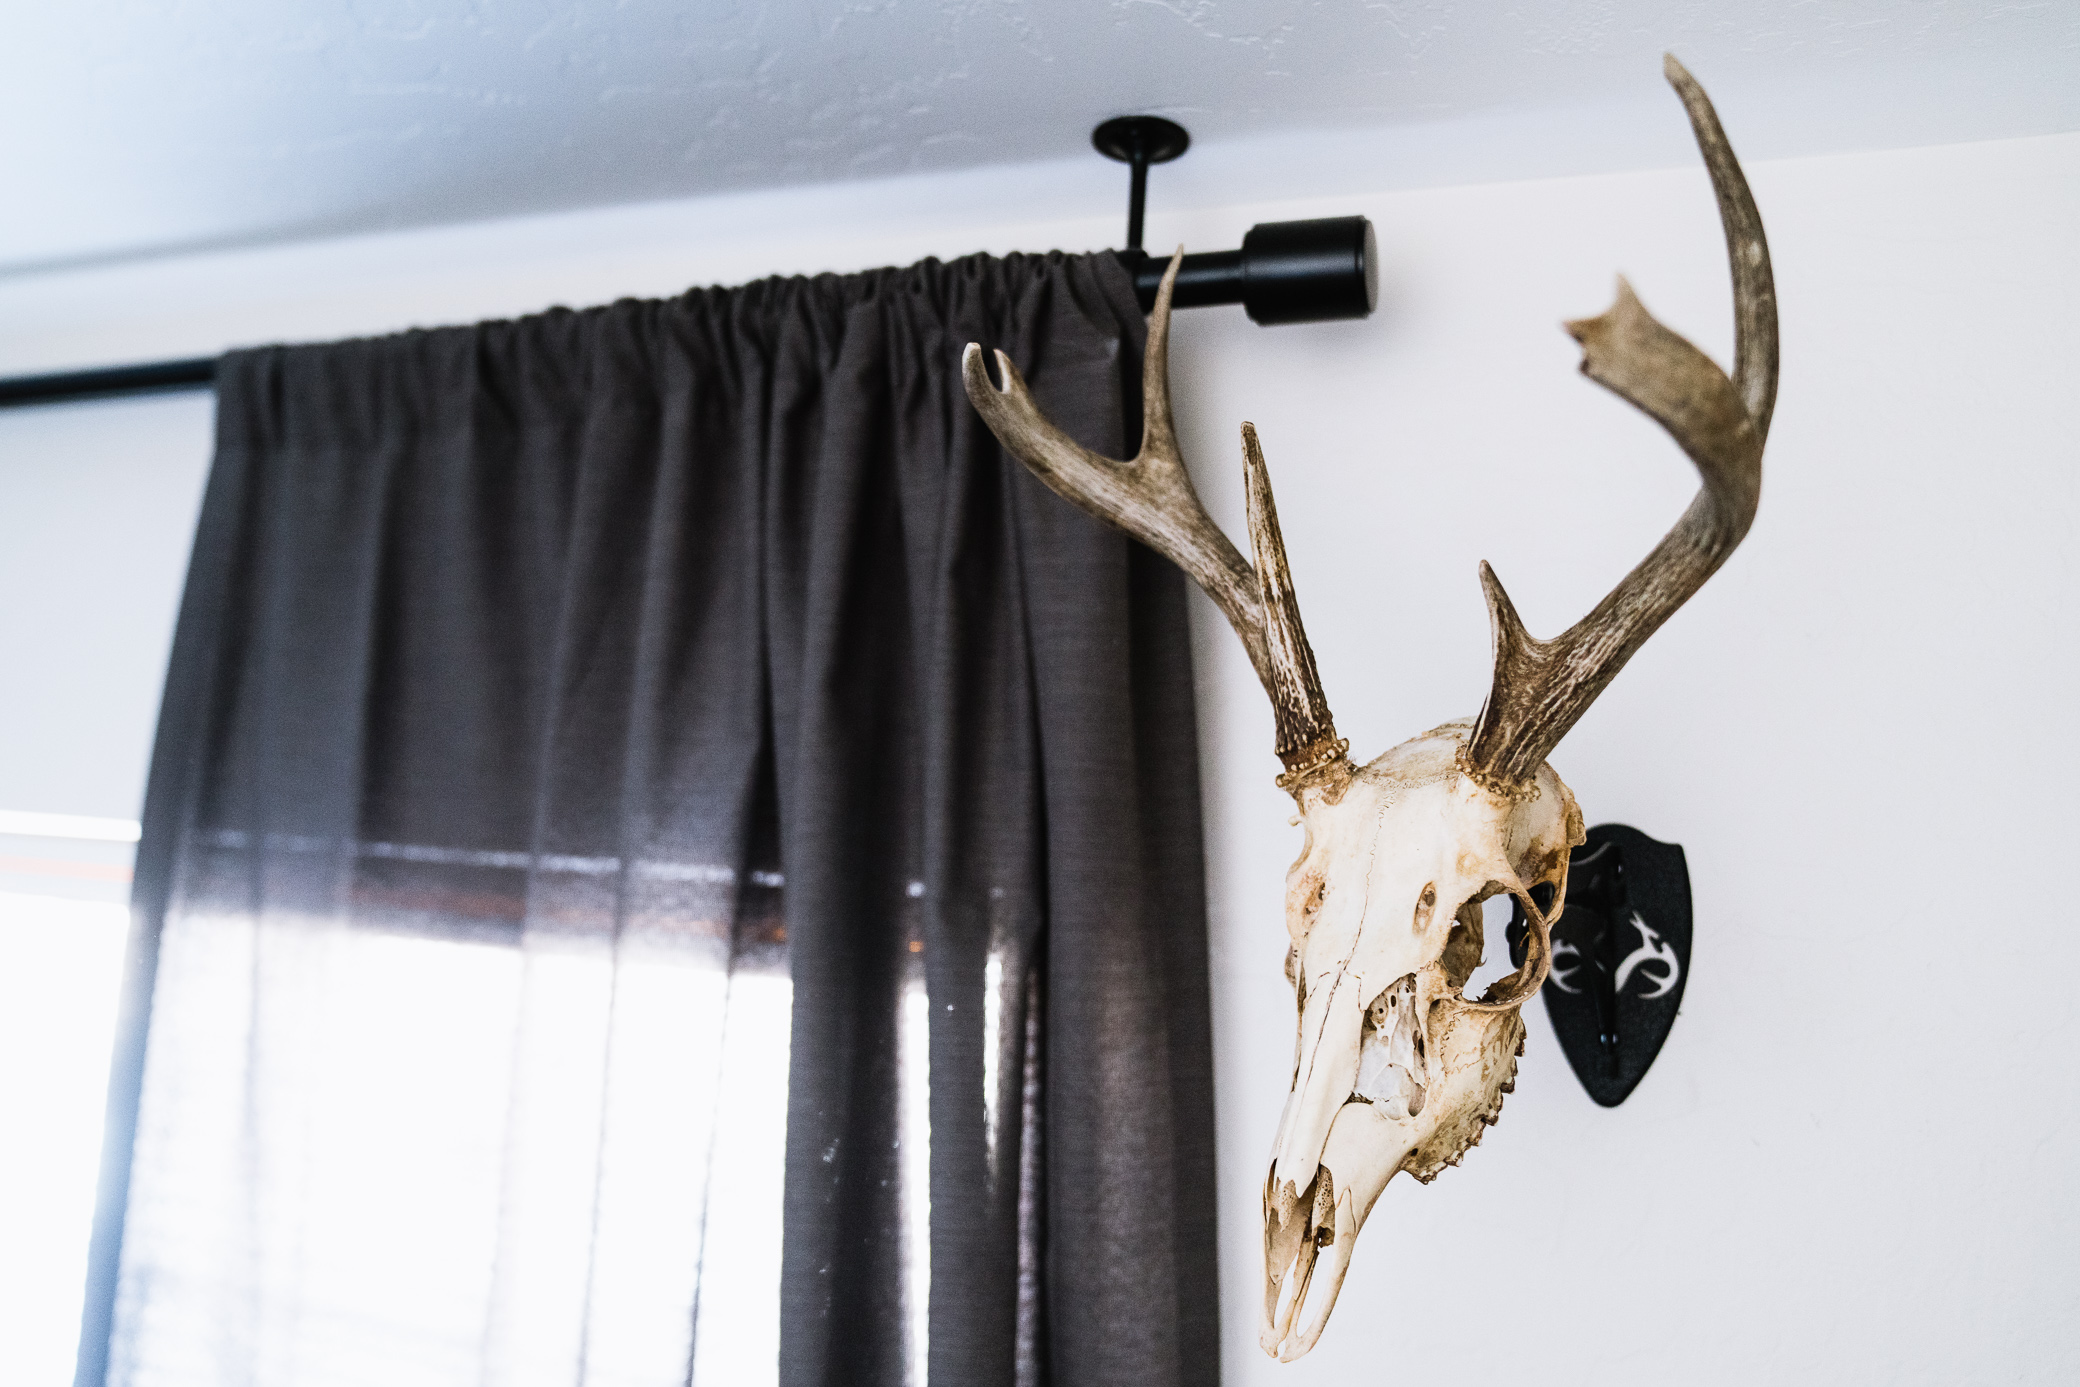
What you’re left with at this point is likely a pretty dang clean skull, minus the dirt of course. Just give it a quick spray with the hose to get the dirt off. You’ll notice that the skull is also not white, but more of a yellowish color. If that bothers you, simply hit the skull with a 40 volume clear developer. You can get this stuff at salons for fairly cheap. I just paint this on with an old paint brush and leave it to dry. Do this as many times as you want. The more coats, the whiter the skull will get. The only thing left to do now is hang it up on the wall!
For hanging euro skulls, I’ve found that the Skull Hooker is the best option there is. They’re easy to use, look slick, and work great as well. They’ve got all different sizes, so buy accordingly.
In this day and age, time is 100% a commodity. People seem to be busier than ever and it isn’t going away anytime soon. I feel that on many levels. Between always striving to be the best husband I can be, trying to be the best dad I can be, and pushing myself in my work, I wish there were more hours in the day. Certainly, I don’t have time set aside to take care of things like taxidermy work. That’s just not in the cards for me. However, it is rewarding to do my own euro mounts now and again. The Lazy Man’s Euro is the perfect fit for that and I think an even more perfect name for it is the Busy Man’s Euro for obvious reasons. Yeah, let’s roll with that.
As an Amazon Associate, I earn from qualifying purchases
Check out by book Becoming a Backpack Hunter: A Beginner’s Guide to Hunting the Backcountry


![]()


Copyright 2019 Dialed In Hunter
Design by NXNW.